“What happens when you mix MATH, CORAL, AND CROCHET?
It’s mind-blowing!” By Rebekah Barnett
Also, click on Crochet Coral Reef to learn more!

“What happens when you mix MATH, CORAL, AND CROCHET?
It’s mind-blowing!” By Rebekah Barnett

Also, click on Crochet Coral Reef to learn more!
“Weaving is relaxing, you can see your progress.”
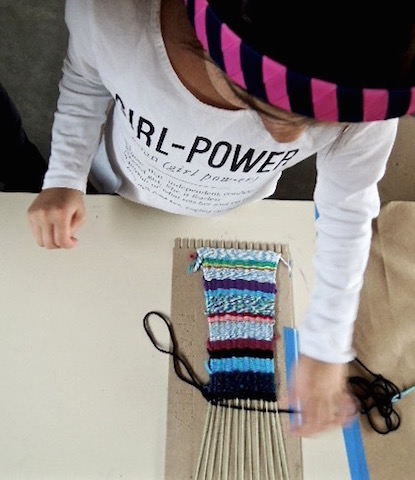
Weaving contributes to growth and development in many ways – fine motor skills, focus and attention, eye / hand and left / right coordination, and direction following. Best of all, rhythmic motions and the tactile experience with yarn becomes meditative.
Weaving requires mathematical thinking, estimation, and measurement.
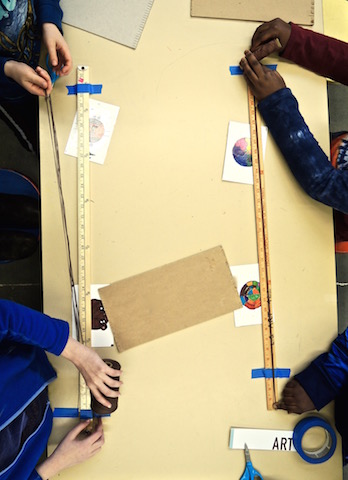
Working in teams, children measure approximately 18 feet or 6 yards of warp for each cardboard loom!
*This measurement may vary from class to class due to different sizes of cardboard looms.
Ask your child, “What is warp?
How do you estimate how much warp you need?
Why does a loom need warp?
Grades 2 and 3
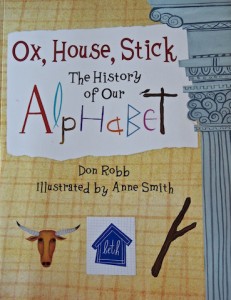
If there were no lines or shapes would there be written alphabets? Find out more in –
Ox, House, Stick, The History of Our Alphabet
By Don Robb
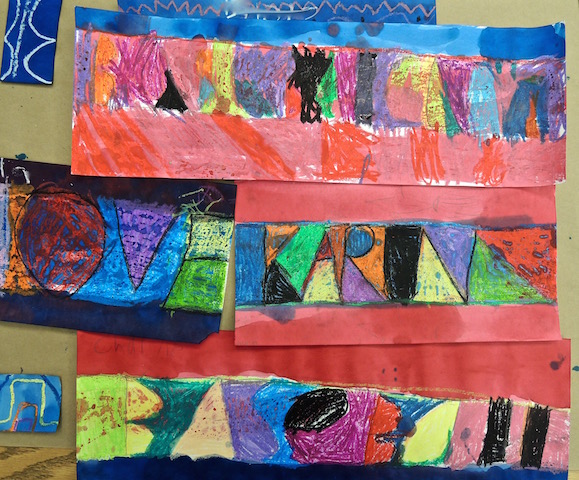
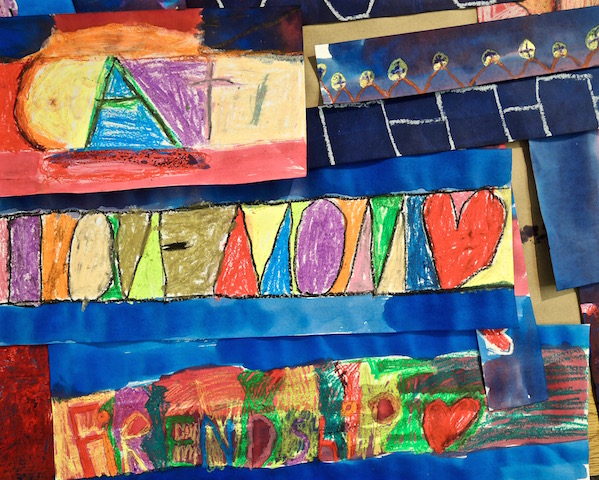
Alphabets can be artistic, too.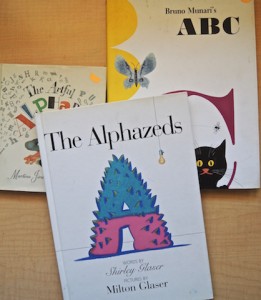
Word Designs
Grade 2
We read Beautiful Oops! by Barney Salzburg – a story that shows tears, spills, and ink blots transformed into something new.
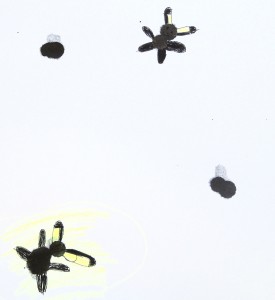
“Pikachu”
Then, children picked pieces of white drawing paper sprinkled with random black ink spots. They drew lines and shapes with black ink pens to express their personal ideas.
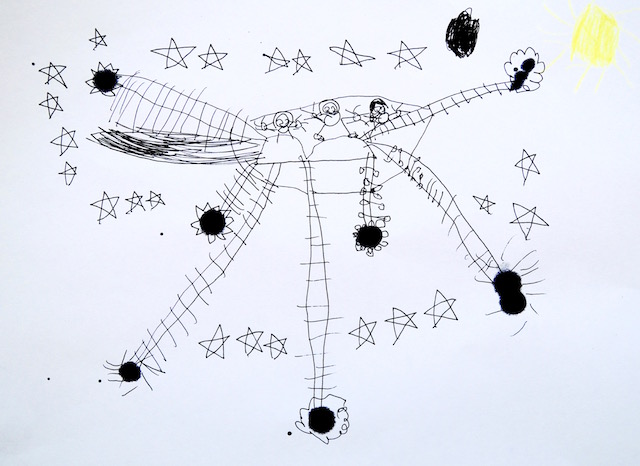
“Space ship”
Grade 1
The longest line

Draw the longest line…
try not to cross over.
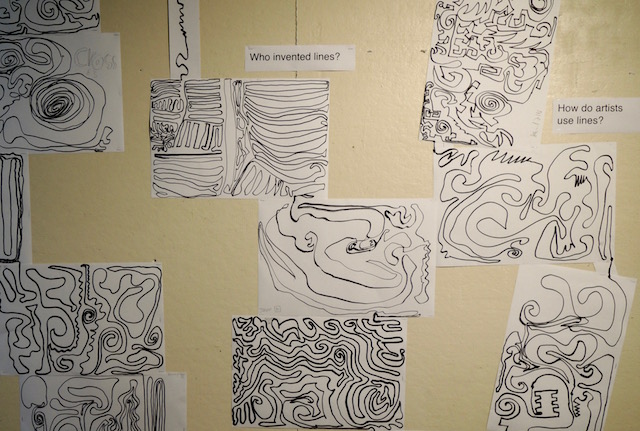
On the wall outside the art room,
connect your line to a classmates’ line.
What is a line?
Who invented lines?
How do artists use lines?
What different kinds of lines you see?
How do lines and shapes make pictures?
How do pictures tell stories?
Would there be written alphabets if there were no lines or shapes?
Grade 3
OF CLAY !
white clay – drying
white clay – dry
red clay – drying
red clay – fired!
During the month of January children in first, second and third grades have been exploring the possibilities and limitations of clay focusing on using our hands as tools. We will continue to practice basic techniques for shaping balls, rolling coils, pinching pots and pressing slabs. Also, we are learning how to properly use and care for a variety of clay tools.
Week 1: Explore:
Pinch, pat, pull apart, roll, and squish the clay together.
Using your hands, change the shape of the clay to show your idea.
Pass the “pick up” test.
Week 2 – Practice:
Draw different kinds of lines with a clay drawing tool.
Stamp designs with plaster and clay stamps.
Cut out shapes with metal shape cutters.
Explore textures with wooden tools.
Design a clay heart using the techniques above.
Pass the pick up test.
Week 3 – Assemble – parts to whole:
Envision an idea for a clay snowman, snowcat, bear or other animal.
Practice the “scratch and attach” technique. (Scratch, scratch, wet, attach.)
Starting with balls and coils, model the body parts.
Assemble the parts together using “scratch and attach.”
Notice how parts put together make a whole object.
Pass the pick up test.
To be continued!!!